If you like the plugin as much as I do, you can always show your appreciation!

|
|
### Quick navigation
- [Key Features](#key-features)
- [Installation](#installation)
- [Usage](#usage)
- [Command Palette](#command-palette)
- [Settings Reference](#settings-reference)
---
If you like the plugin as much as I do, you can always show your appreciation!
|
|
#### From release
- Download `main.js`, `manifest.json`, and `styles.css` from the [latest release](https://github.com/mr-asa/obsidian_weather/releases) and copy them into ` |
#### BRAT plugin - Open *Settings → Community plugins*, click *Browse*, find the [**“BRAT” plugin**](https://obsidian.md/plugins?id=obsidian42-brat), install it, and enable it. - In the **BRAT** settings click **Add beta plugin**, paste the repository path for [this project](https://github.com/mr-asa/obsidian_weather), choose *Select a version → Latest version*, then press **Add Plugin**. - Done. The plugin is installed and activated. |
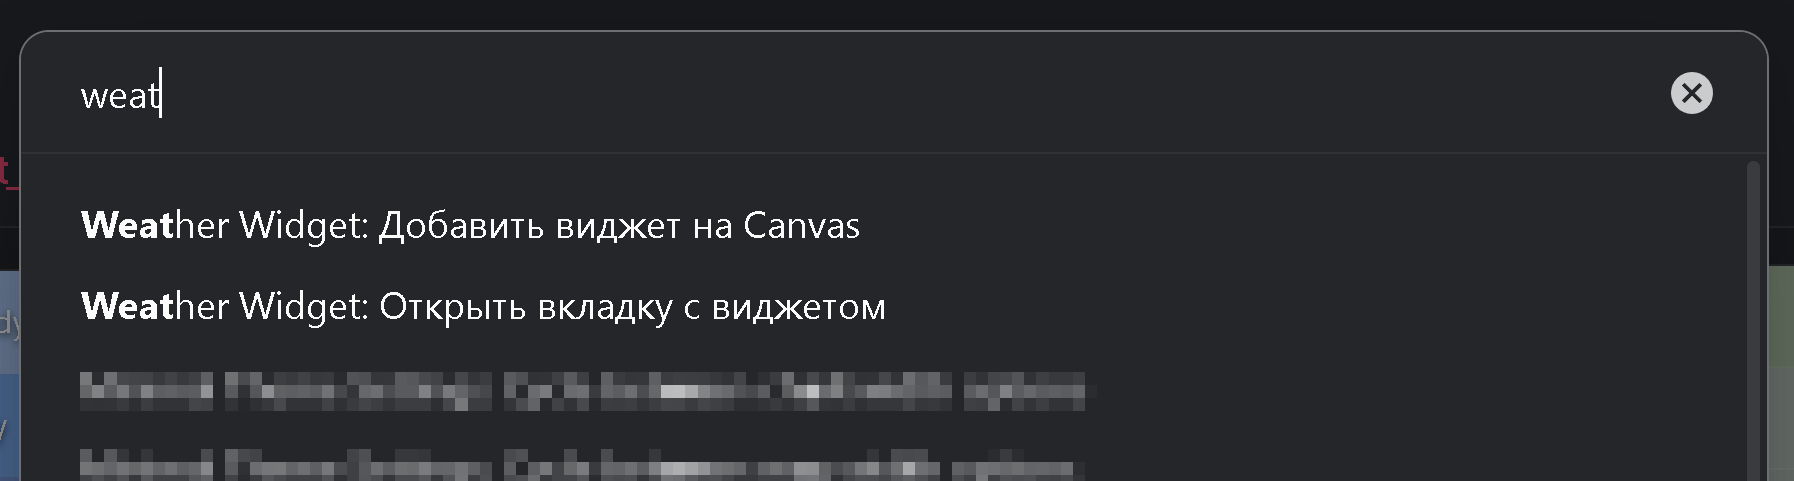 - **Weather Widget: Open tab** – focus the live widget view (right sidebar by default).
- **Weather Widget: Insert Canvas node** – create a Canvas text node with the Markdown placeholder.
## Settings Reference
### Localisation
Switch between English and Russian without reloading the vault. City names remain untouched.
### Weather updates
- Pick a data provider:
- **Open-Meteo** (no key) or
- **OpenWeather** (requires free API key).
> [!TIP]
> Switching providers refreshes the cached data. This can be useful in cases where not all cities are loaded when the plugin is launched.
### Locations
- Maintain the global city list. Every row lets you set name, latitude, longitude, re-ordering, or deletion.
> [!note]
> City names can use any language, symbol, or emoji.
>
> Custom display names exist for convenience. For example, I track a nearby mountain and the city below; naming the exact coordinates through standard providers is tricky, so custom labels keep both points clear.
### Preview playground
- The preview widget mirrors the real component. Sliders simulate local time and temperature, the dropdown swaps weather categories.
> [!note]
> Use ←/→ or ↑/↓ to nudge slider values one step at a time.
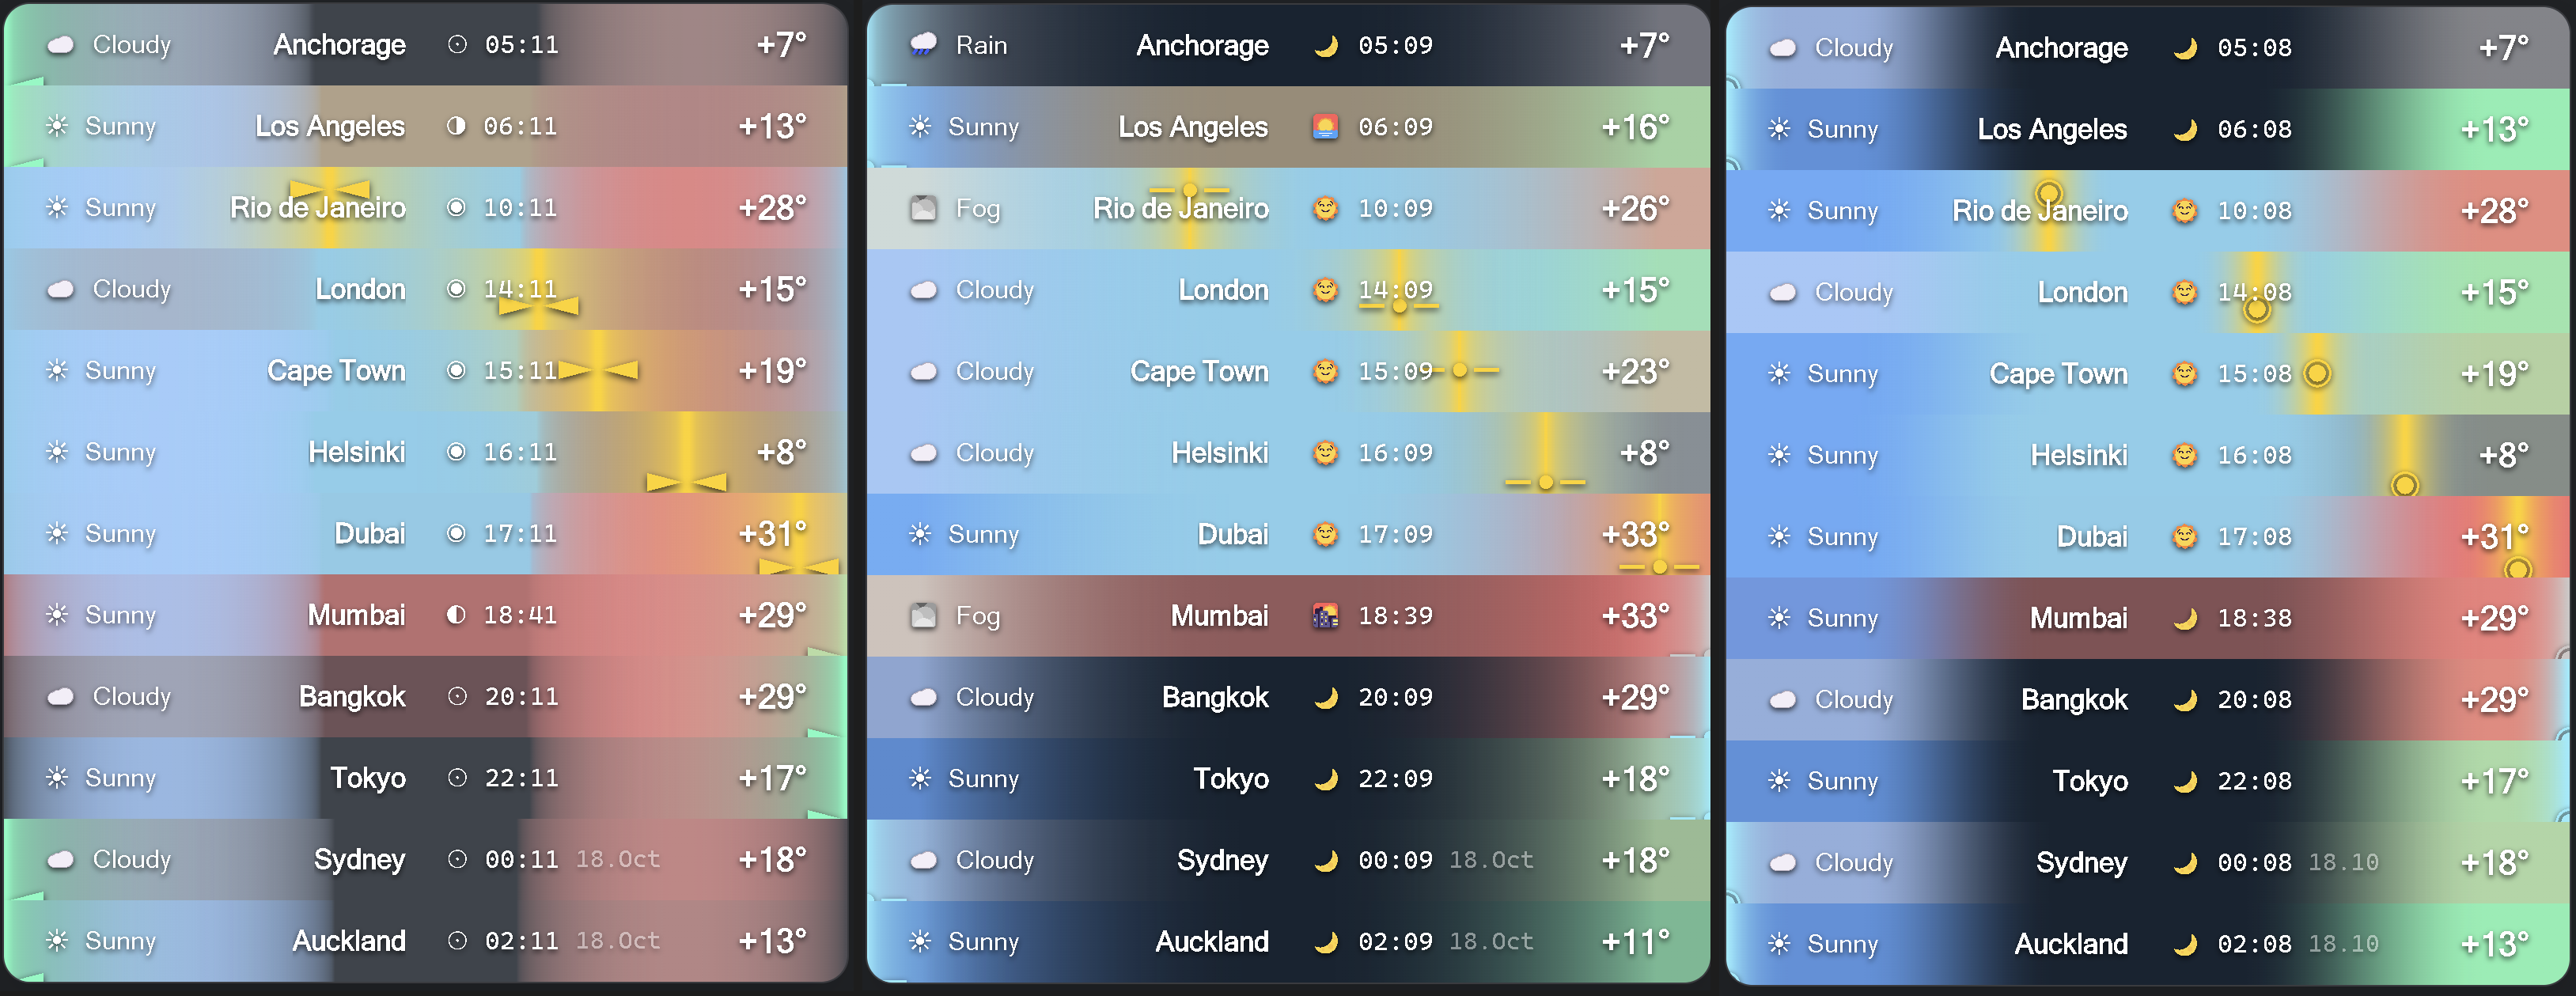
### Time-of-day palette
- Choose base colors for morning, day, evening, and night.
- Replace the time-of-day icons if you prefer custom symbols (for example: ◑ ◉ ◐ ⨀).
- Define how many minutes before sunrise/sunset blending should start and end.
### Sun layer
- Customize colors for day/night/sunrise/sunset and the symbol used for the sun.
- Select an alpha curve profile to control how the sun gradient fades in/out.
- **Weather Widget: Open tab** – focus the live widget view (right sidebar by default).
- **Weather Widget: Insert Canvas node** – create a Canvas text node with the Markdown placeholder.
## Settings Reference
### Localisation
Switch between English and Russian without reloading the vault. City names remain untouched.
### Weather updates
- Pick a data provider:
- **Open-Meteo** (no key) or
- **OpenWeather** (requires free API key).
> [!TIP]
> Switching providers refreshes the cached data. This can be useful in cases where not all cities are loaded when the plugin is launched.
### Locations
- Maintain the global city list. Every row lets you set name, latitude, longitude, re-ordering, or deletion.
> [!note]
> City names can use any language, symbol, or emoji.
>
> Custom display names exist for convenience. For example, I track a nearby mountain and the city below; naming the exact coordinates through standard providers is tricky, so custom labels keep both points clear.
### Preview playground
- The preview widget mirrors the real component. Sliders simulate local time and temperature, the dropdown swaps weather categories.
> [!note]
> Use ←/→ or ↑/↓ to nudge slider values one step at a time.
### Time-of-day palette
- Choose base colors for morning, day, evening, and night.
- Replace the time-of-day icons if you prefer custom symbols (for example: ◑ ◉ ◐ ⨀).
- Define how many minutes before sunrise/sunset blending should start and end.
### Sun layer
- Customize colors for day/night/sunrise/sunset and the symbol used for the sun.
- Select an alpha curve profile to control how the sun gradient fades in/out.
 - Configure gradient width, opaque core, opacity multiplier, overflow, and icon behaviour (regular vs monospaced font).
- Tune sunrise/sunset transition windows similar to the time-of-day palette.
> [!note]
> I introduced the sun symbol to represent the height of the sun above the horizon.
> You can choose any text character or combination of characters for the icon, as long as it sits in the middle of the line.
> Here are some ideas:
>
> ◯⨀○৹●•·◎◉\
> ▣◇◆▪▫\
> \- – —\
> ►◄▻◅▸◂▹◃\
> ⋯Θ⊢⊣
>
> For example, pick ◯ for a large ring, or enable a monospaced font and write —•— for a clean indicator (I like the variant ——●—— with size 0.5).
> You can also disable the icon entirely and keep only the colour accent.
### Weather layer
- Set icon and colour per weather category.
- Adjust alpha profile, inner opacity ratio, overall opacity, and left fade.
### Temperature layer
- Manage temperature-to-colour stops, add/remove entries, and configure the alpha profile similar to the weather layer.
### Additional options
- **Edge gradient width** – global scaling factor for weather and temperature layers. Use smaller values when you prefer solid day/night backgrounds.
> [!note]
> Weather and temperature transitions can differ in perceived width for each city. This is deliberate: daylight length is reflected in the gradient span.
- Configure gradient width, opaque core, opacity multiplier, overflow, and icon behaviour (regular vs monospaced font).
- Tune sunrise/sunset transition windows similar to the time-of-day palette.
> [!note]
> I introduced the sun symbol to represent the height of the sun above the horizon.
> You can choose any text character or combination of characters for the icon, as long as it sits in the middle of the line.
> Here are some ideas:
>
> ◯⨀○৹●•·◎◉\
> ▣◇◆▪▫\
> \- – —\
> ►◄▻◅▸◂▹◃\
> ⋯Θ⊢⊣
>
> For example, pick ◯ for a large ring, or enable a monospaced font and write —•— for a clean indicator (I like the variant ——●—— with size 0.5).
> You can also disable the icon entirely and keep only the colour accent.
### Weather layer
- Set icon and colour per weather category.
- Adjust alpha profile, inner opacity ratio, overall opacity, and left fade.
### Temperature layer
- Manage temperature-to-colour stops, add/remove entries, and configure the alpha profile similar to the weather layer.
### Additional options
- **Edge gradient width** – global scaling factor for weather and temperature layers. Use smaller values when you prefer solid day/night backgrounds.
> [!note]
> Weather and temperature transitions can differ in perceived width for each city. This is deliberate: daylight length is reflected in the gradient span.