# Basic Columns
**Columns in your notes, the way Word does them.**
Start a note full width, switch to two or three columns to compare options or
lay out lists side by side, then go back to full width. No code blocks, no
special syntax to learn, and no flipping between a preview and raw markdown.
Click into a column and type.
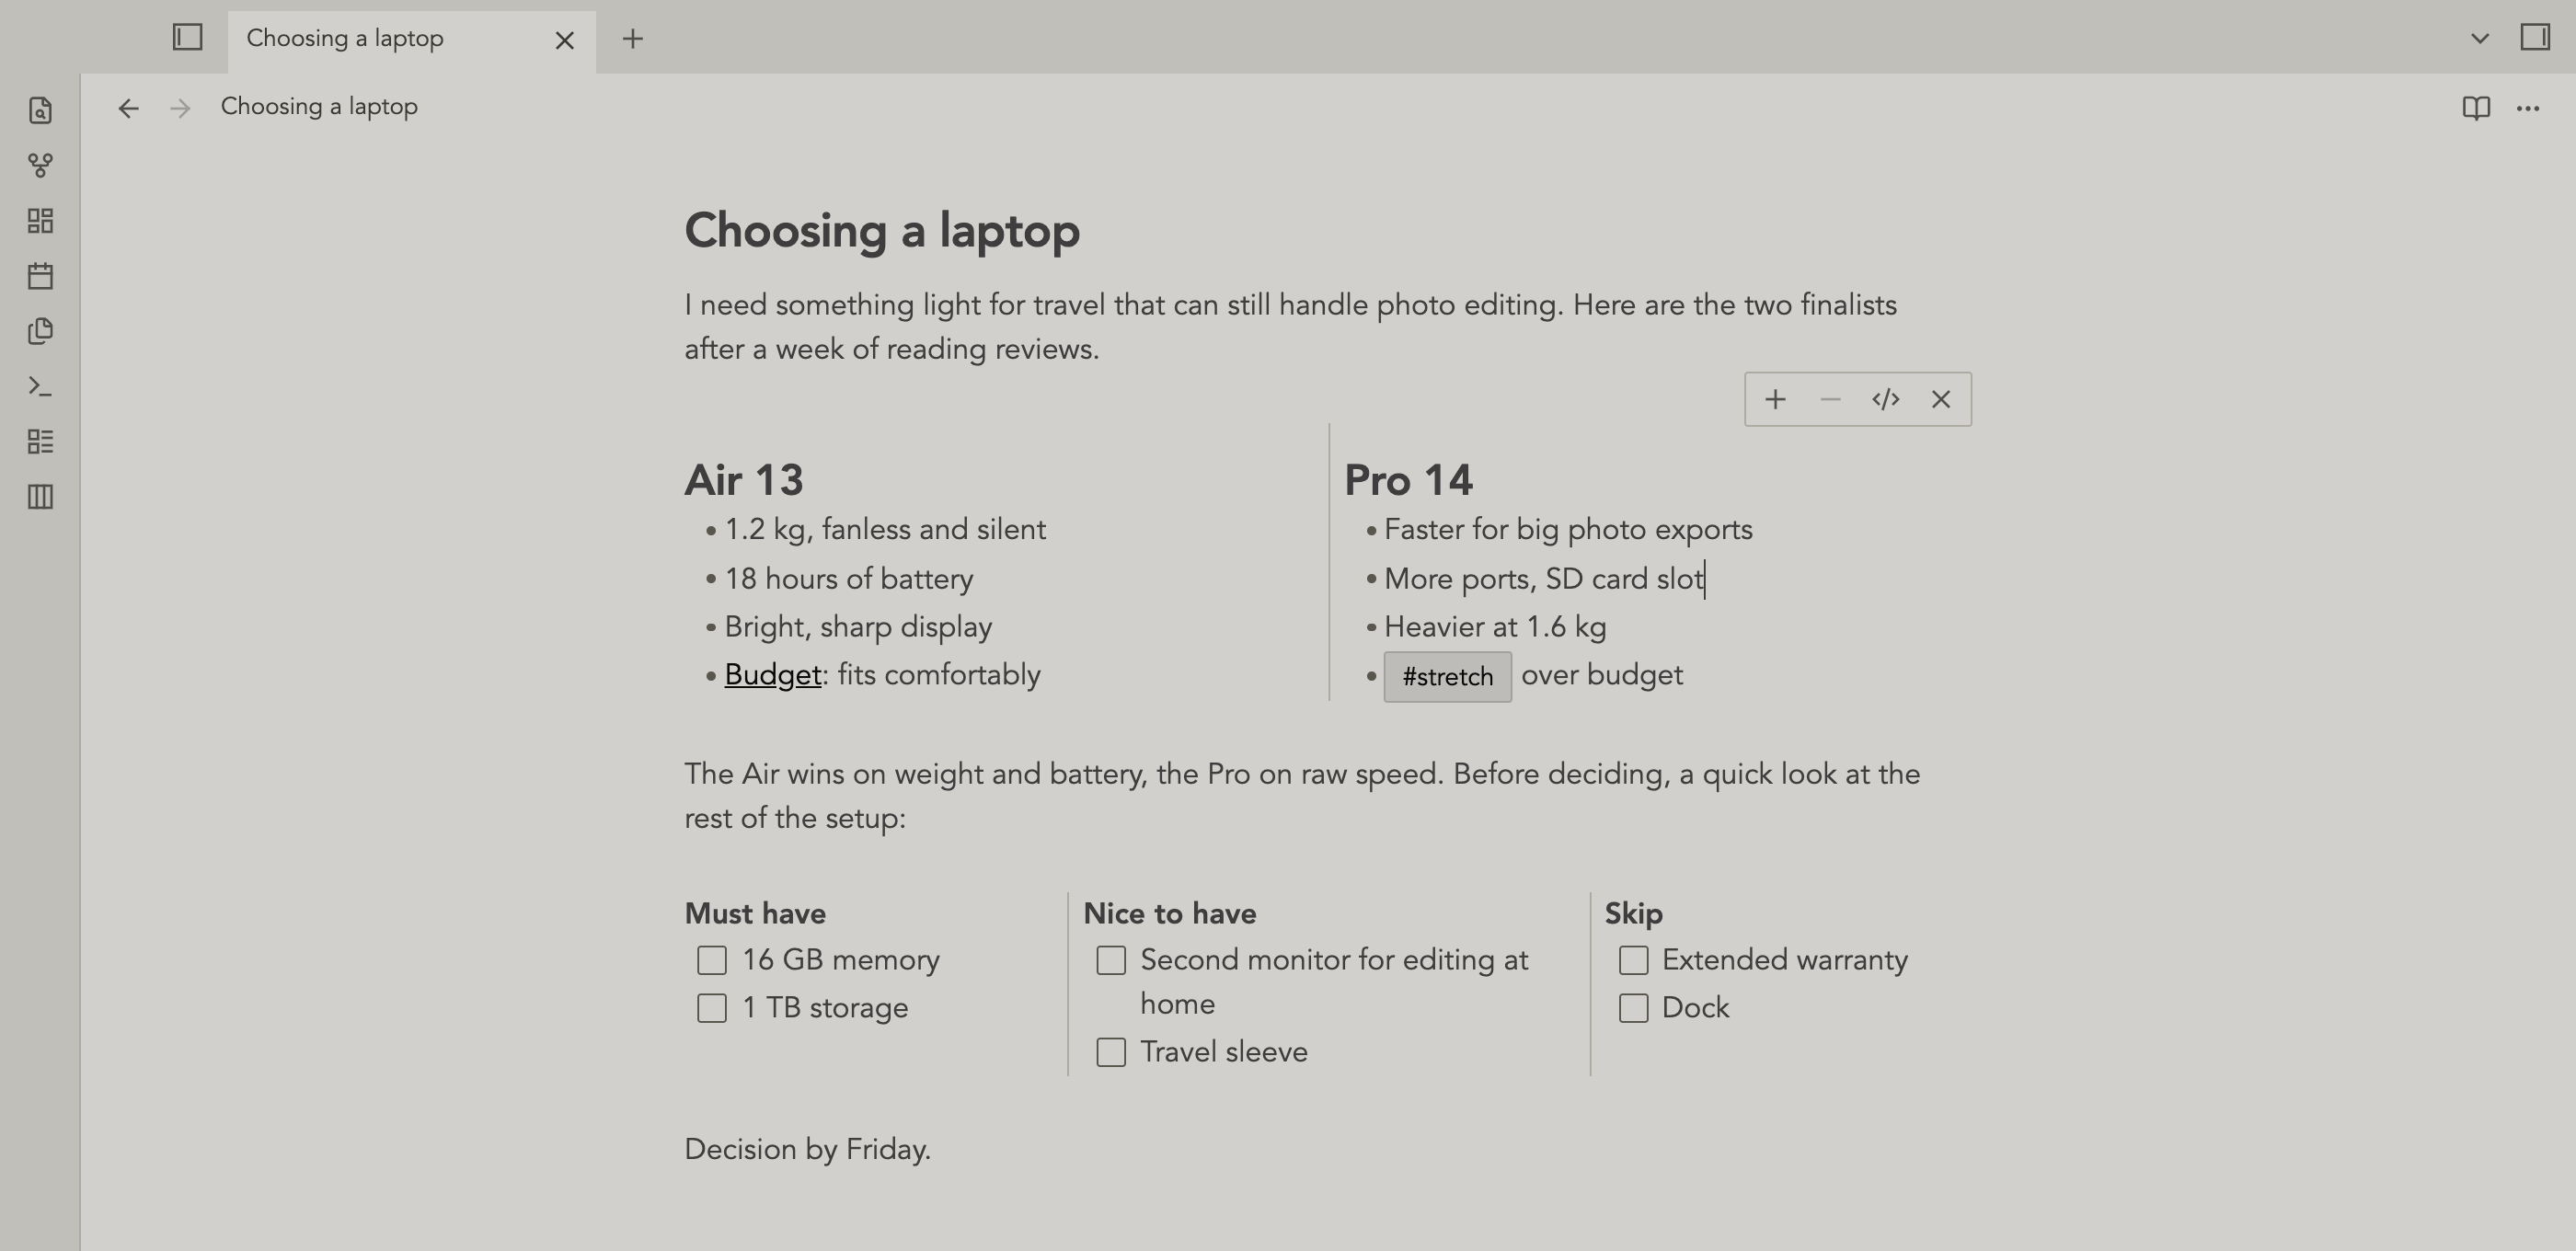
> Screenshots use the [Newsprint](https://github.com/ibehren1/obsidian-newsprint-theme)
> theme. Basic Columns uses your theme's own colors and fonts, so it matches
> whatever theme you use.
## Why Basic Columns
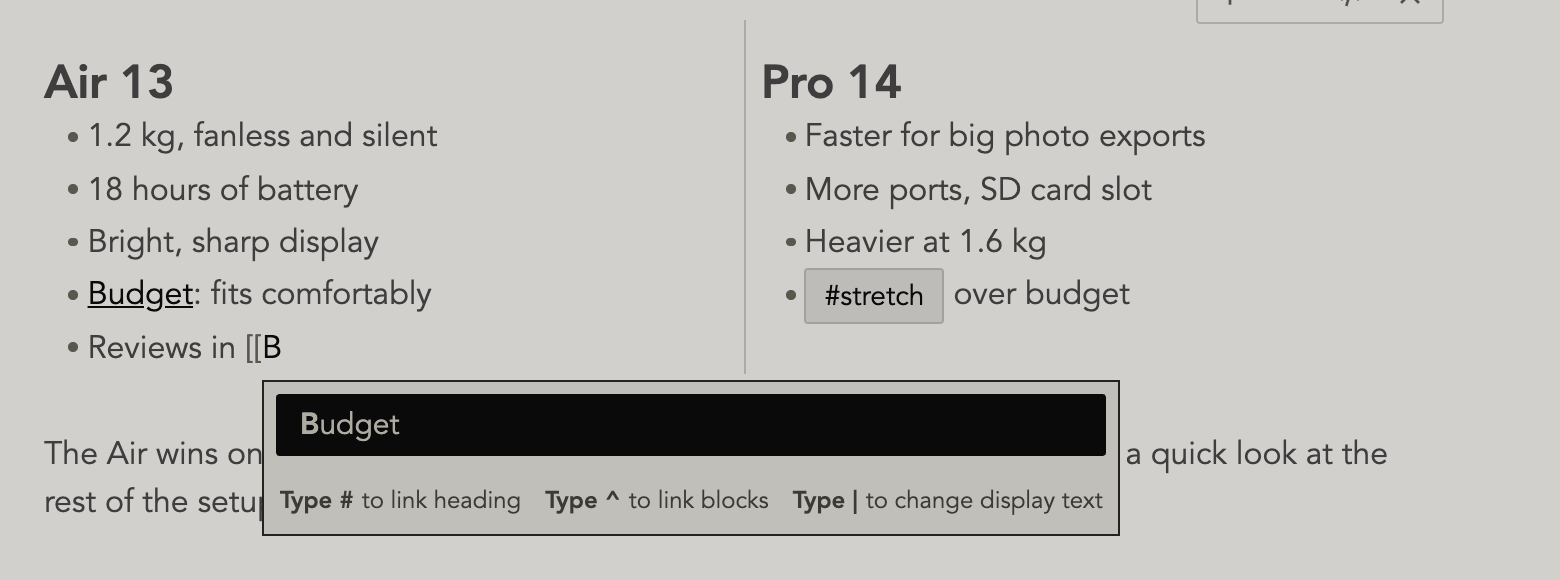
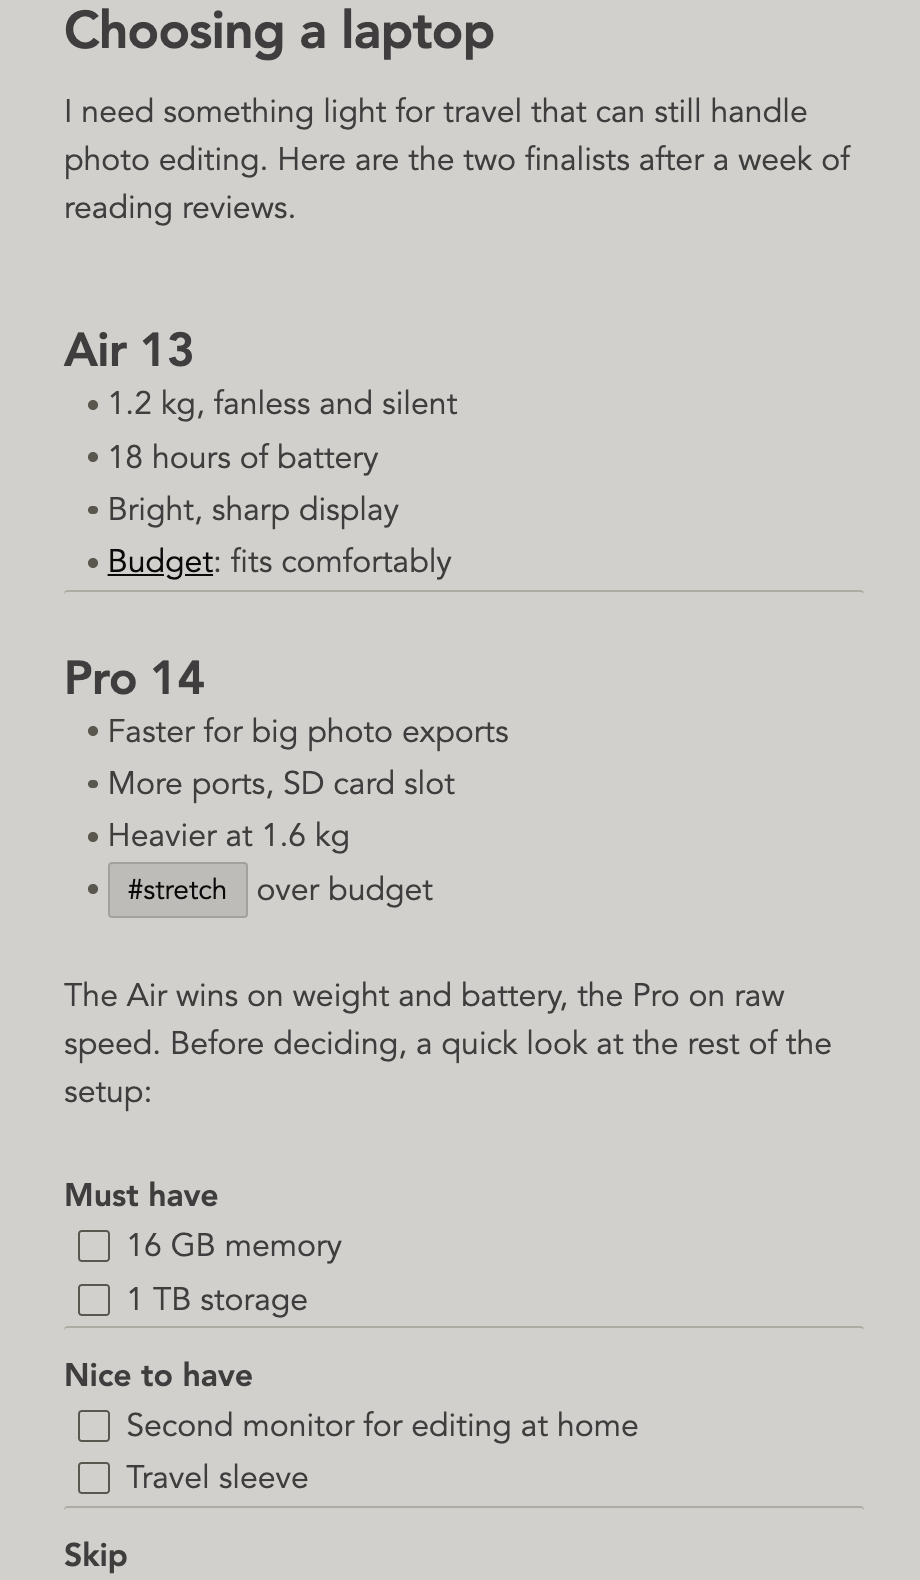
- **Type right inside the columns.** In Live Preview each column is a real
Obsidian editor. Lists, checkboxes, headings, callouts, `[[links]]` with suggestions,
and tags all work as they do anywhere else in your note.
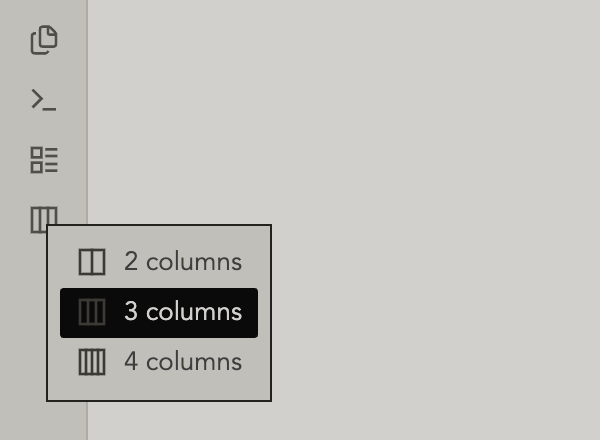
- **Insert columns in one click.** Use the columns button in the left ribbon
and pick 2, 3, or 4 columns. You can also right-click in a note or use the
command palette. Selected text moves into the first column.
- **Your links still count.** Links and tags inside columns show up in
backlinks, search, and the graph, and they update when you rename a note.
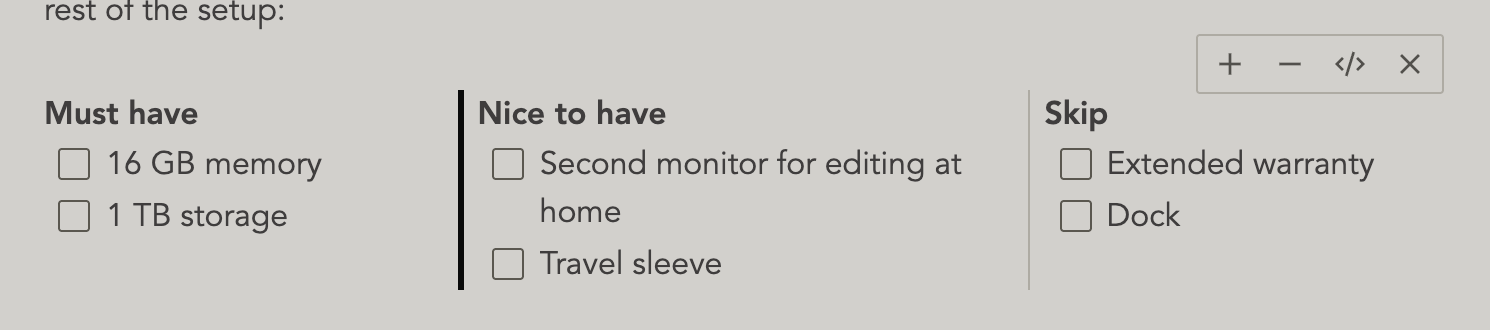
- **Resize by dragging.** Drag the line between two columns to make one wider.
Double-click it to make them equal again.
- **Change your mind easily.** Hover a column section to add a column, remove
one (nothing is deleted; its text moves into the column beside it), or turn
the section back into normal text.
- **Works on phones and narrow panes.** When there isn't room, columns stack
neatly on top of each other.
 - **Plain markdown, no lock-in.** Columns are saved as a standard Obsidian
callout. If you ever uninstall the plugin, your notes stay readable.
## Light, dark, and Reading mode
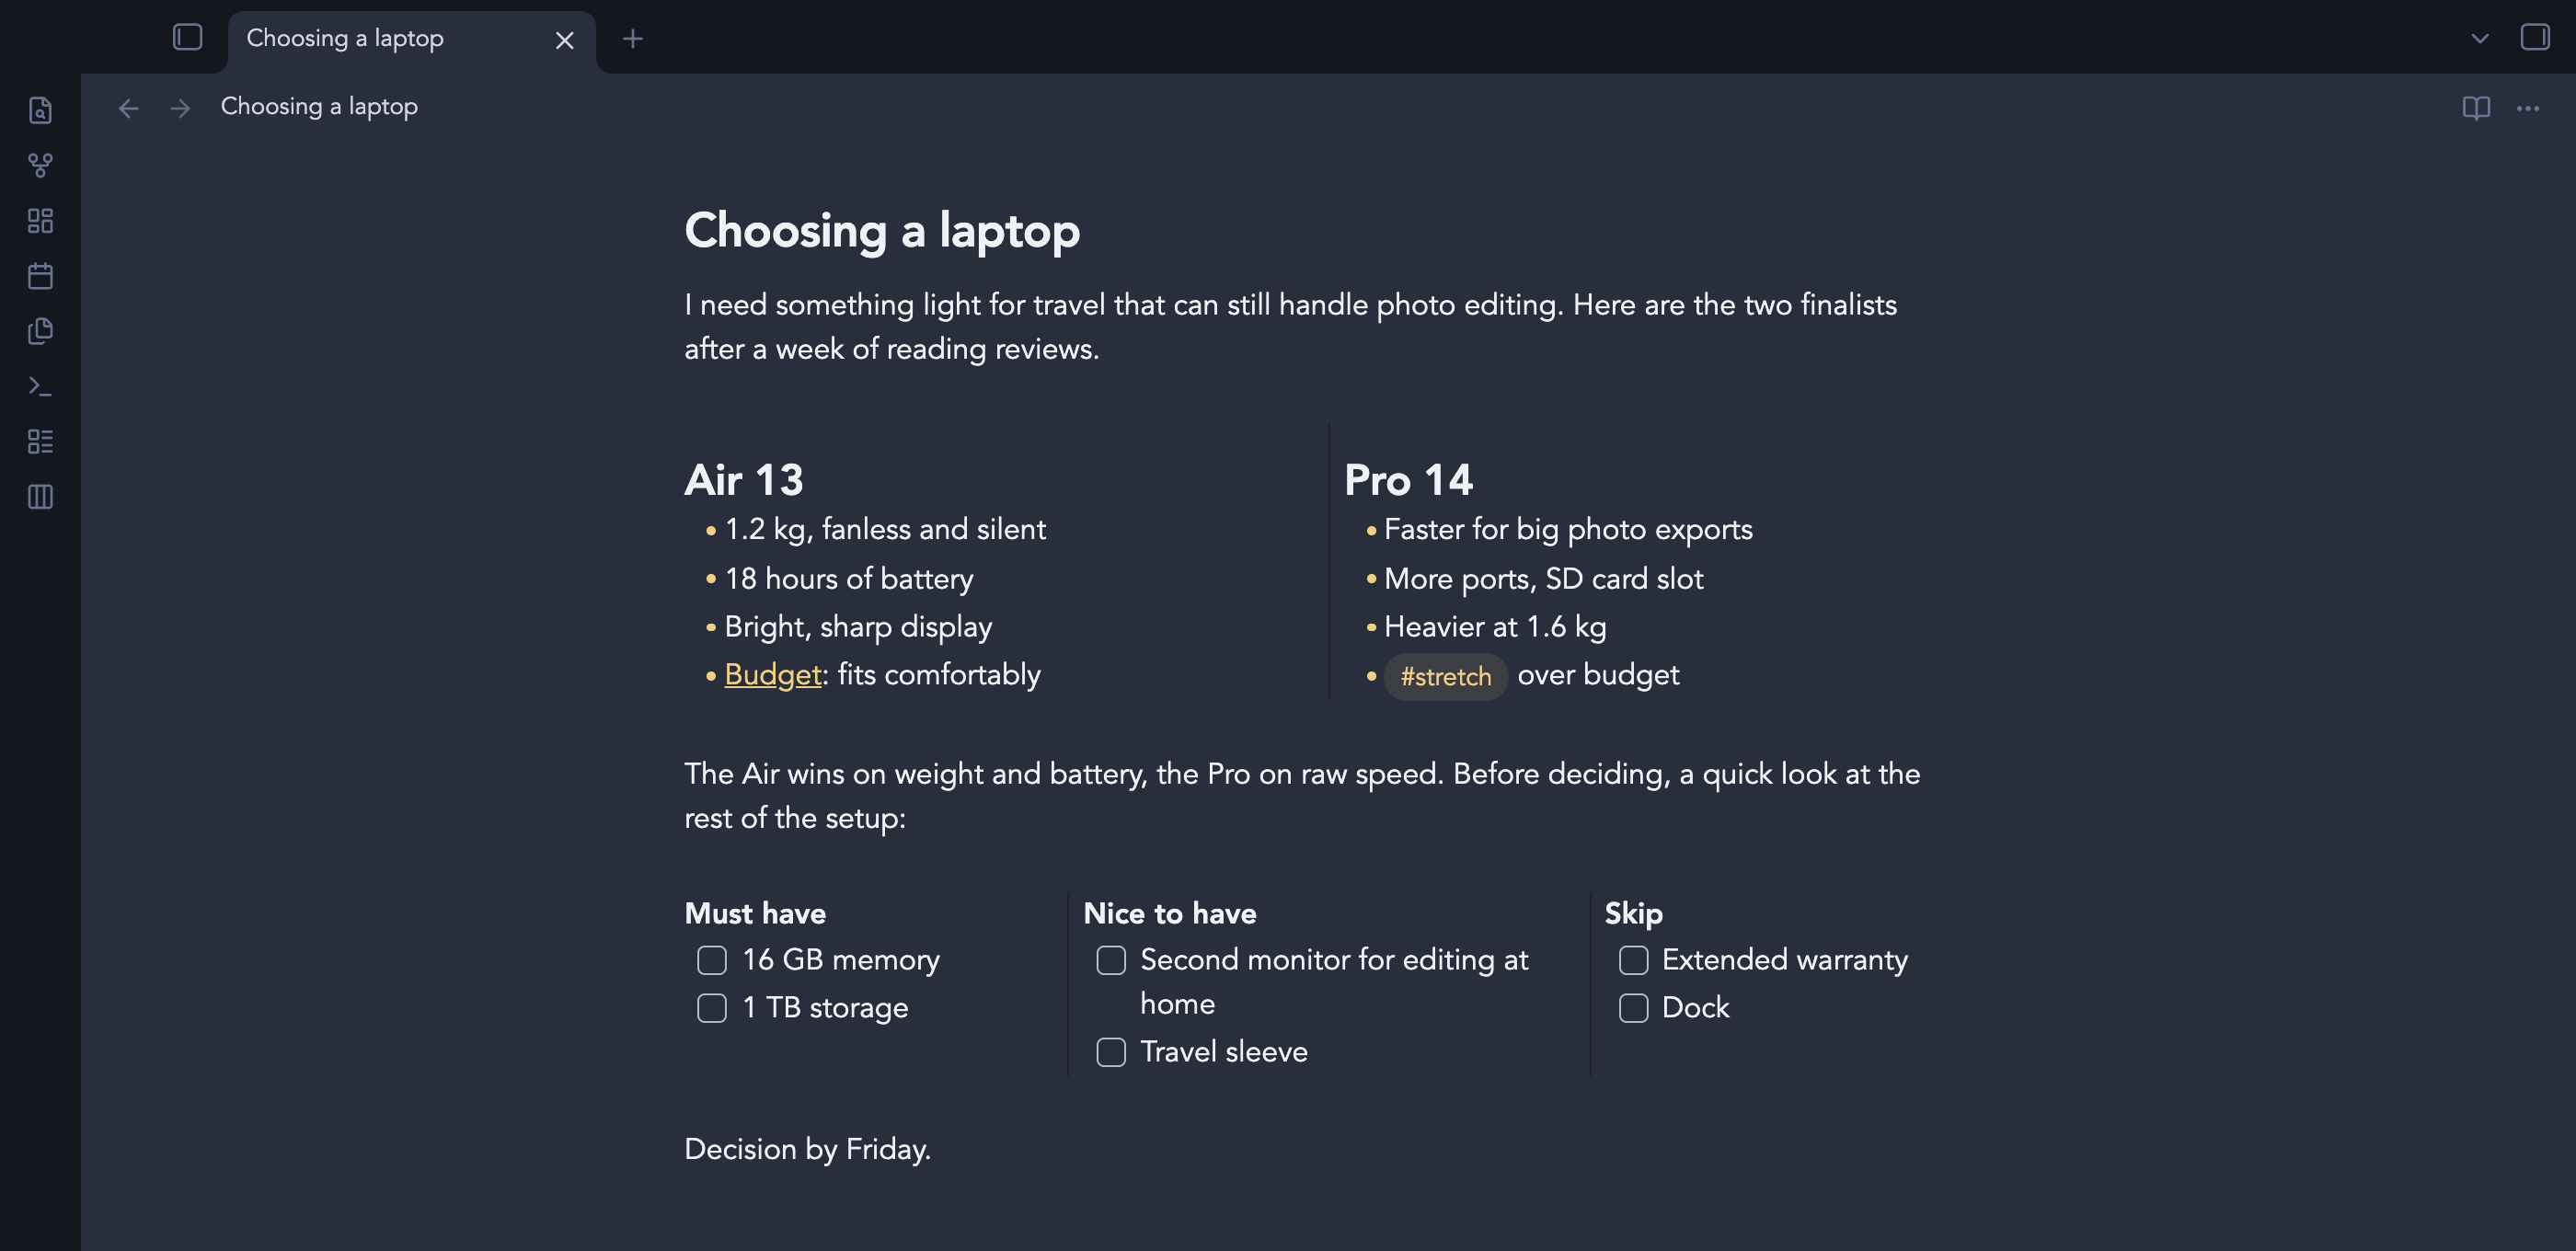
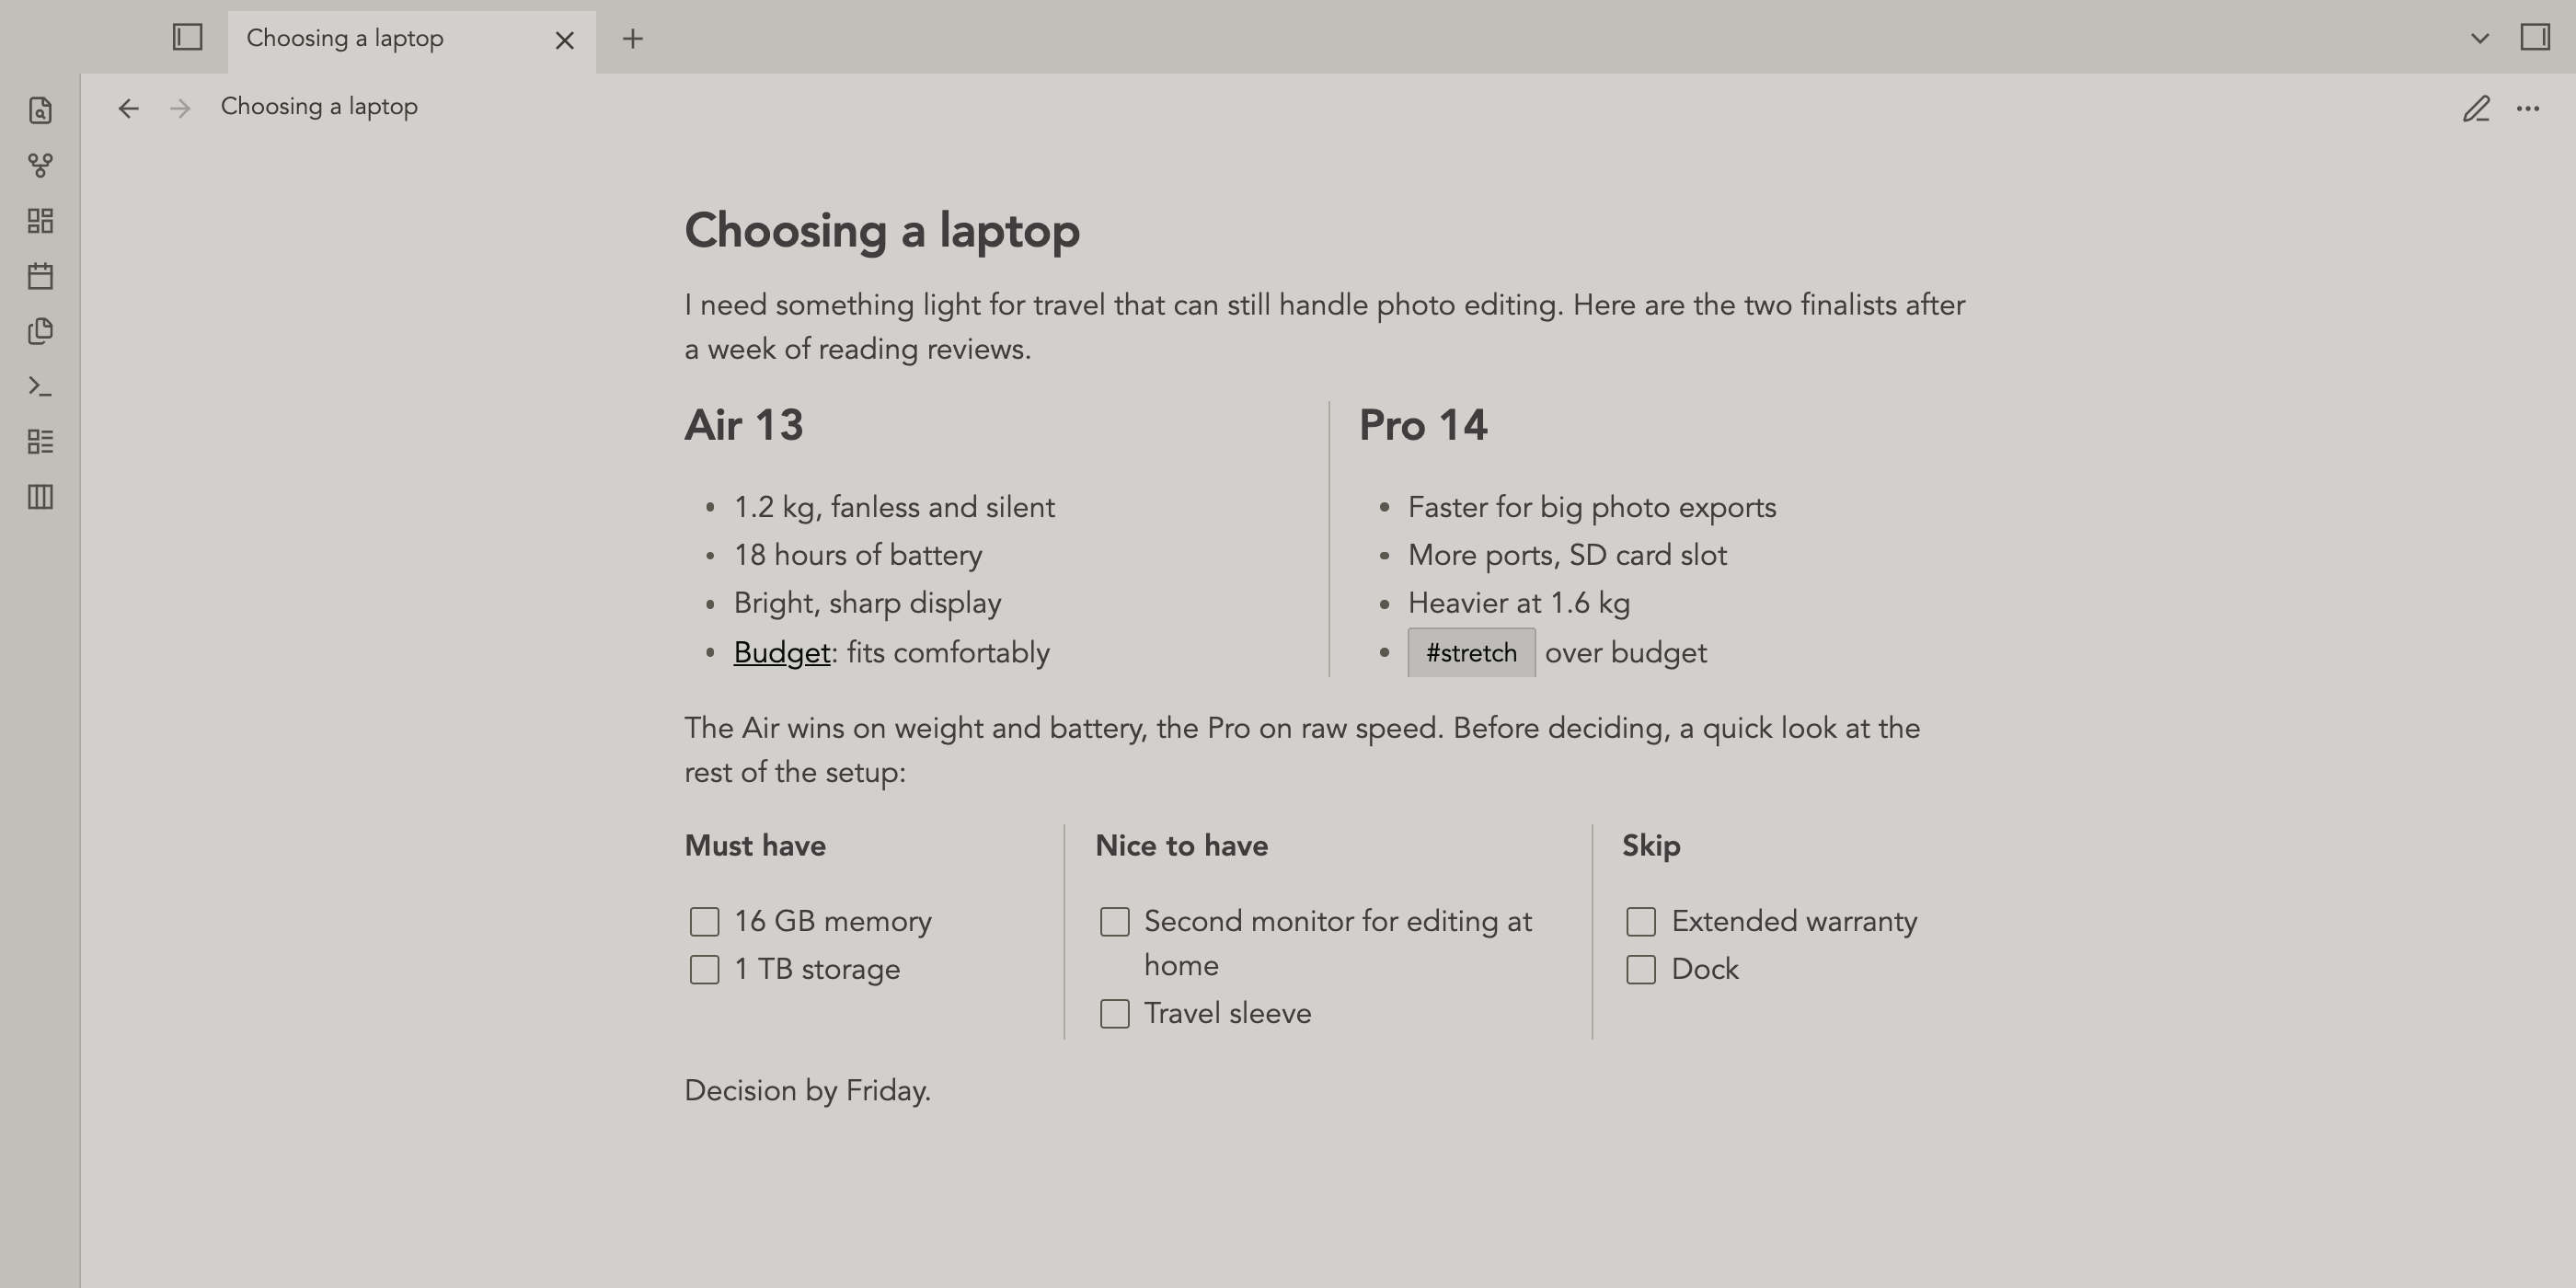
Columns look the same in Live Preview and Reading mode, in light and dark.
## Getting started
1. Install **Basic Columns** from **Settings → Community plugins → Browse**,
then enable it.
2. Open a note and click the columns icon in the left ribbon.
3. Choose how many columns you want, and start typing.
To leave the columns, press the down arrow on the last line of a column, press
Escape, or click below the section.
## Keyboard
| Key | What it does |
| --- | --- |
| ← / → at the edge of a column | Move to the previous or next column |
| ↑ on the first line / ↓ on the last line | Leave the column section |
| Esc | Leave the column section |
| Cmd/Ctrl + Z | Undo, for the whole note, inside or outside columns |
## Commands
- Insert 2 columns
- Insert 3 columns
- Insert 4 columns
- Remove columns (keep content)
Assign hotkeys to any of these in **Settings → Hotkeys**.
## What it looks like in markdown
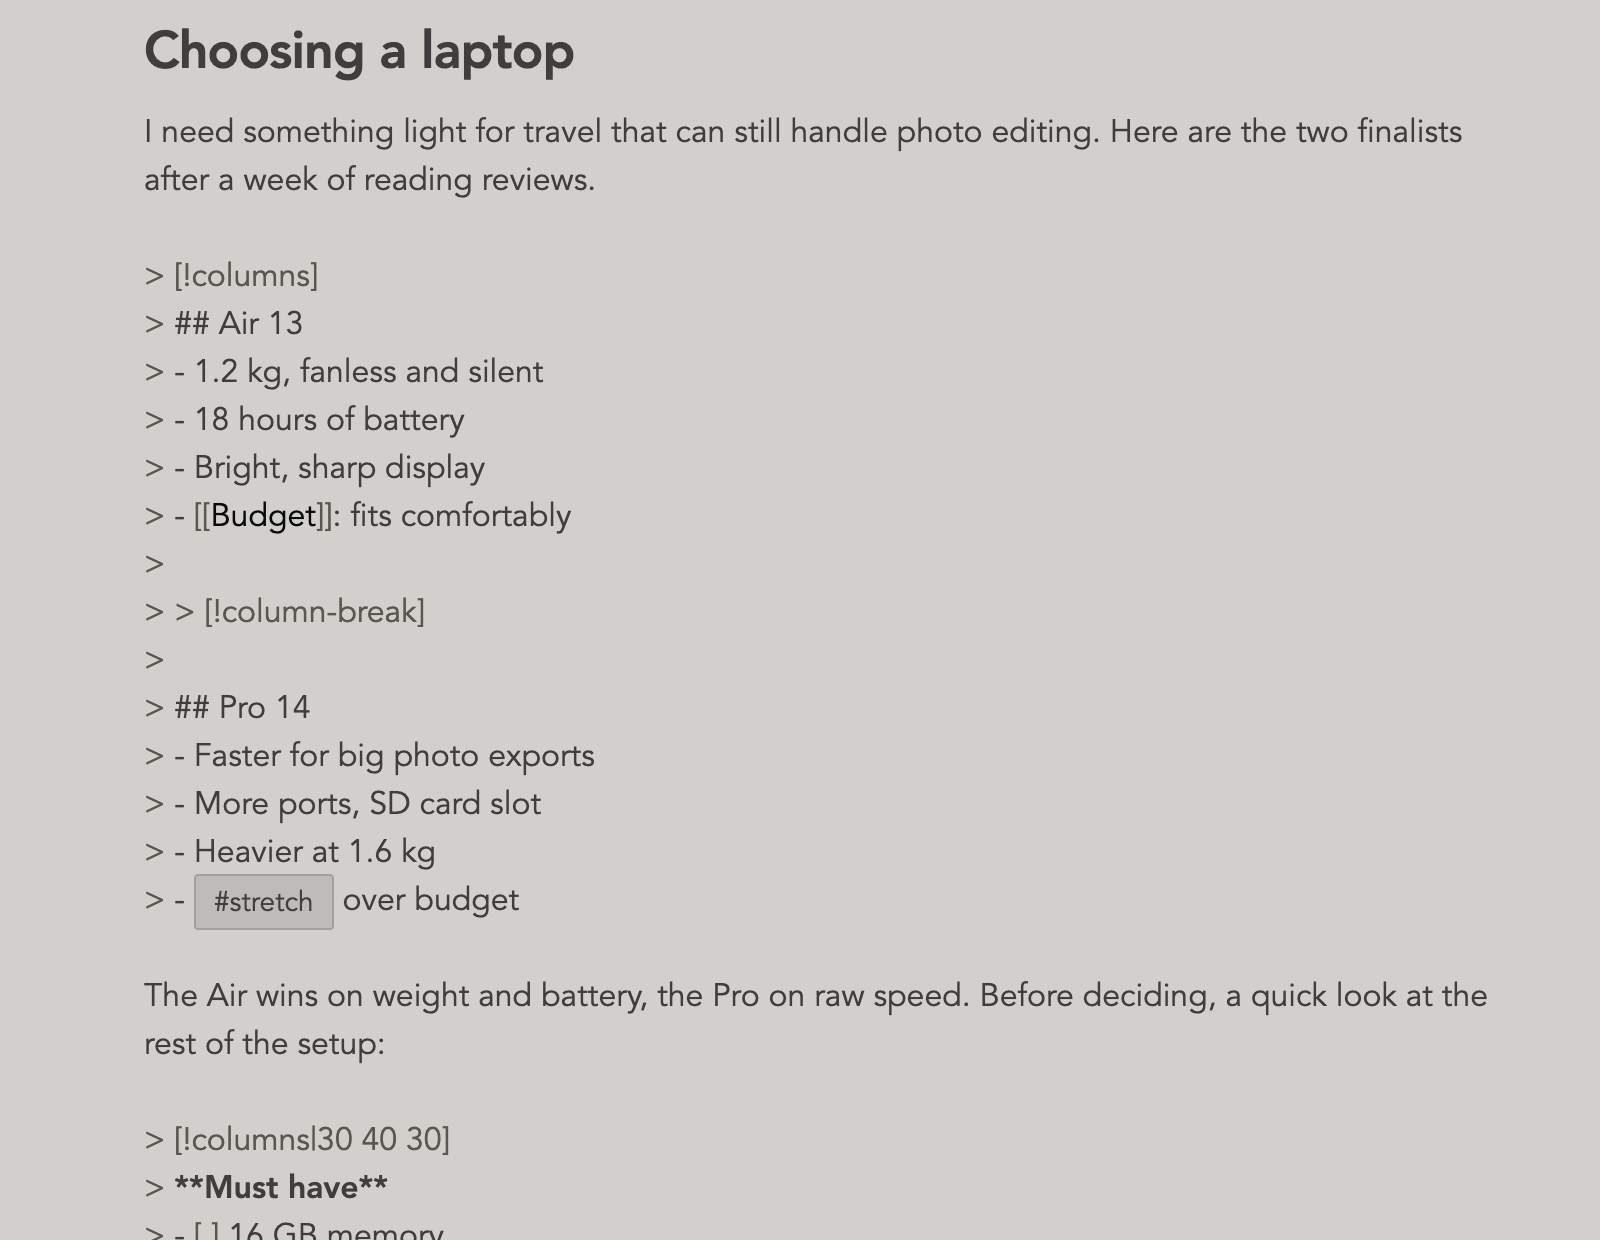
You never need to type this, but here's how a column section is saved:
```markdown
> [!columns|40 60]
> ## Option A
> - fast
> - cheap
>
> > [!column-break]
>
> ## Option B
> - slow
> - robust
```
`|40 60` is only there if you resized the columns. Without it, columns are
equal width.
## Good to know
- Columns render in Live Preview and Reading mode. Source mode shows the
markdown above.
- Inside columns, Basic Columns uses Obsidian's own editor through an
interface that isn't officially public. If a future Obsidian update changes
it, columns fall back to a simple text editor until the plugin is updated.
Your notes are never affected.
## Feedback
Found a bug or have an idea?
[Open an issue](https://github.com/ibehren1/obsidian-basic-columns/issues).
---
## Development
```bash
npm install # also enables the version-bump git hook
npm run dev # watch build
npm run build # type-check + production build
npm run lint
npm test
```
For a dev vault, link `main.js`, `manifest.json`, and `styles.css` into
`/.obsidian/plugins/basic-columns/`.
Every commit bumps the patch version (`x.y.z` to `x.y.z+1`) through the
pre-commit hook in `.githooks/pre-commit`. To bump `x` or `y`, edit the
version in `manifest.json` before committing. CI rejects commits that don't
raise the version, and every push to `main` publishes a GitHub release.